I’ve discovered that bucket floral gardening is the perfect solution for anyone who wants to grow their own food but lacks traditional garden space. As an urban gardener myself I’ve transformed my small patio into a thriving container garden using simple 5-gallon buckets.
Growing plants in buckets offers amazing flexibility and control over your garden environment. Whether you’re working with a tiny apartment balcony or just want to start small I’ll show you how bucket gardening can work for you. From choosing the right containers to selecting appropriate plants and maintaining proper drainage this beginner-friendly method makes gardening accessible to everyone.
Key Takeaways
- Bucket gardening is an efficient container gardening method using 5-gallon buckets, ideal for small spaces and urban environments with limited garden access.
- Key benefits include space optimization, mobility, cost-effectiveness (buckets cost $3-$5 each), better pest control, and reduced water consumption by up to 30%.
- Essential supplies include food-grade HDPE buckets, proper drainage materials (gravel, mesh, landscape fabric), and an optimized soil mix (60% potting soil, 20% compost, 10% perlite, 10% vermiculite).
- Most vegetables thrive in 5-gallon buckets with proper spacing: 1 tomato plant per bucket, 2-3 pepper plants, or 6-8 lettuce plants, making it suitable for diverse gardening needs.
- Regular maintenance requires proper drainage (8-10 holes), consistent watering, fertilizing every 14 days, and seasonal care adjustments to ensure healthy plant growth.
Bucket Gardening 101
Bucket gardening is a container gardening method that uses plastic or metal buckets as growing vessels for plants, vegetables, herbs or flowers. I’ve found this method particularly effective for maximizing growing space in urban environments while maintaining complete control over soil quality and growing conditions.
Benefits of Growing Plants in Buckets
- Space Optimization: A 5-gallon bucket occupies only 2 square feet yet provides enough room for growing tomatoes, peppers or eggplants
- Mobility: I move my buckets to follow sunlight patterns or protect plants from harsh weather
- Cost-Effective: Standard 5-gallon buckets cost $3-$5 each compared to $20-$30 for traditional planters
- Pest Control: Elevated containers reduce damage from ground-dwelling pests like slugs rabbits
- Soil Management: Each bucket creates an isolated growing environment allowing customized soil mixes per plant
- Water Conservation: Buckets retain moisture better than traditional garden beds reducing water consumption by 30%
| Bucket Size | Ideal Plants | Number of Plants |
|---|---|---|
| 2-gallon | Herbs, Lettuce, Radishes | 2-3 plants |
| 5-gallon | Tomatoes, Peppers, Cucumbers | 1-2 plants |
| 7-gallon | Potatoes, Squash, Melons | 1 plant |
- Food-Grade Plastic: HDPE buckets with recycling code #2 provide safe growing conditions
- Metal Buckets: Galvanized steel offers durability but requires drainage holes rust protection
- Dark Colors: Black or dark-colored buckets absorb heat promoting root growth
- Depth Requirements: 12-inch minimum depth ensures adequate root development
- Width Considerations: 12-16 inch diameter provides stability prevents tipping
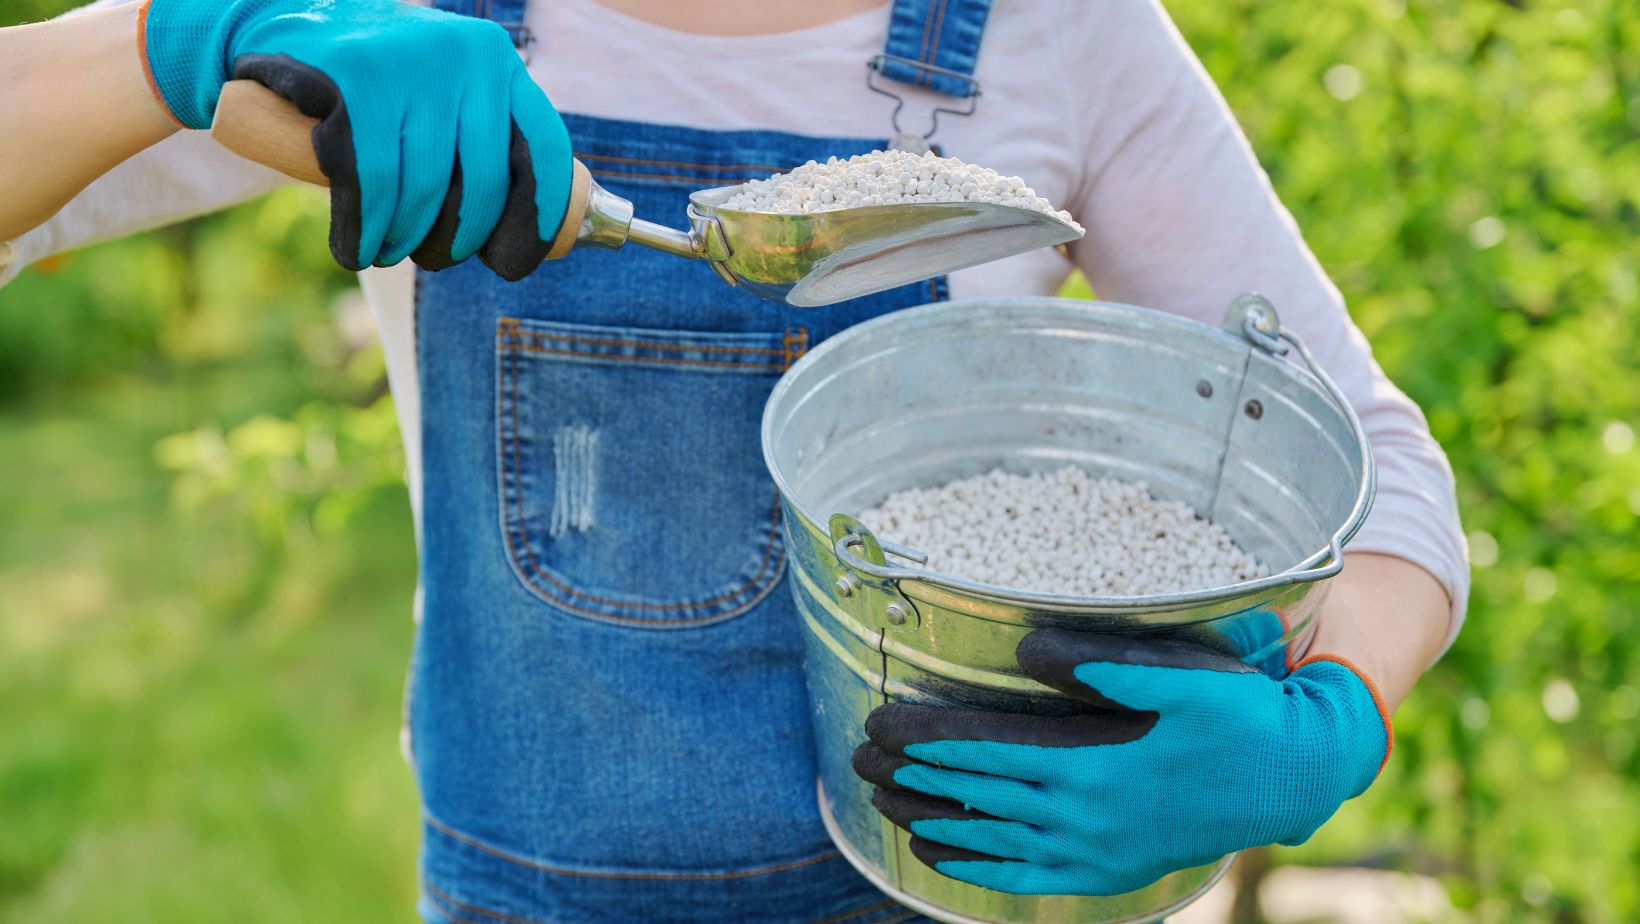
Essential Supplies for Bucket Gardens![]()
 I’ve compiled a comprehensive list of fundamental supplies needed to create productive bucket gardens based on my experience growing vegetables in confined spaces.
Soil and Growing Medium
A quality growing medium creates the foundation for successful bucket gardening. I mix the following components for optimal plant growth:
- Potting soil (60%) provides essential nutrients and structure
- Compost (20%) adds organic matter and beneficial microorganisms
- Perlite (10%) improves aeration and prevents soil compaction
- Vermiculite (10%) enhances moisture retention and nutrient availability
| Component | Percentage | Primary Function |
|---|---|---|
| Potting Soil | 60% | Base structure |
| Compost | 20% | Nutrient source |
| Perlite | 10% | Aeration |
| Vermiculite | 10% | Water retention |
- 1/4-inch drill bit for creating drainage holes
- Landscape fabric strips prevent soil loss through holes
- Gravel or stone chips (1-2 inches) for the bucket bottom
- Mesh screen cuts prevent clogging in drainage holes
| Drainage Layer | Depth | Position |
|---|---|---|
| Gravel/Stone | 2 inches | Bottom |
| Screen Mesh | N/A | Above holes |
| Fabric Layer | N/A | Above gravel |
| Growing Medium | 12-14 inches | Top layer |
How to Prepare Buckets for Planting
Preparing buckets for planting requires specific steps to create an optimal growing environment. I’ve developed a systematic approach through years of bucket gardening that ensures proper drainage and soil composition.
Creating Drainage Holes
I drill 8-10 holes in the bottom of each 5-gallon bucket using a 1/4-inch drill bit. The holes are placed in a circular pattern, with one hole in the center and the rest evenly spaced around it. Here’s my tested process:
- Mark hole locations 1 inch from the bucket’s edge
- Drill holes at a moderate speed to prevent bucket cracking
- Sand the edges of each hole to remove sharp plastic bits
- Cover holes with mesh screening to prevent soil loss
- Test drainage by pouring water through the prepared holes
Adding Proper Soil Layers
I create distinct layers in each bucket to optimize drainage and root growth:
Layer 1 (Bottom):
- 2 inches of clean gravel or stone chips
- Single layer of landscape fabric
- Prevents soil compaction and drain clogging
Layer 2 (Growing Medium):
- 12-14 inches of soil mix containing:
- 60% quality potting soil
- 20% compost
- 10% perlite
- 10% vermiculite
- Leave 2 inches of space at top for watering
| Layer Component | Depth (inches) | Position |
|---|---|---|
| Drainage Material | 2 | Bottom |
| Growing Medium | 12-14 | Middle |
| Watering Space | 2 | Top |
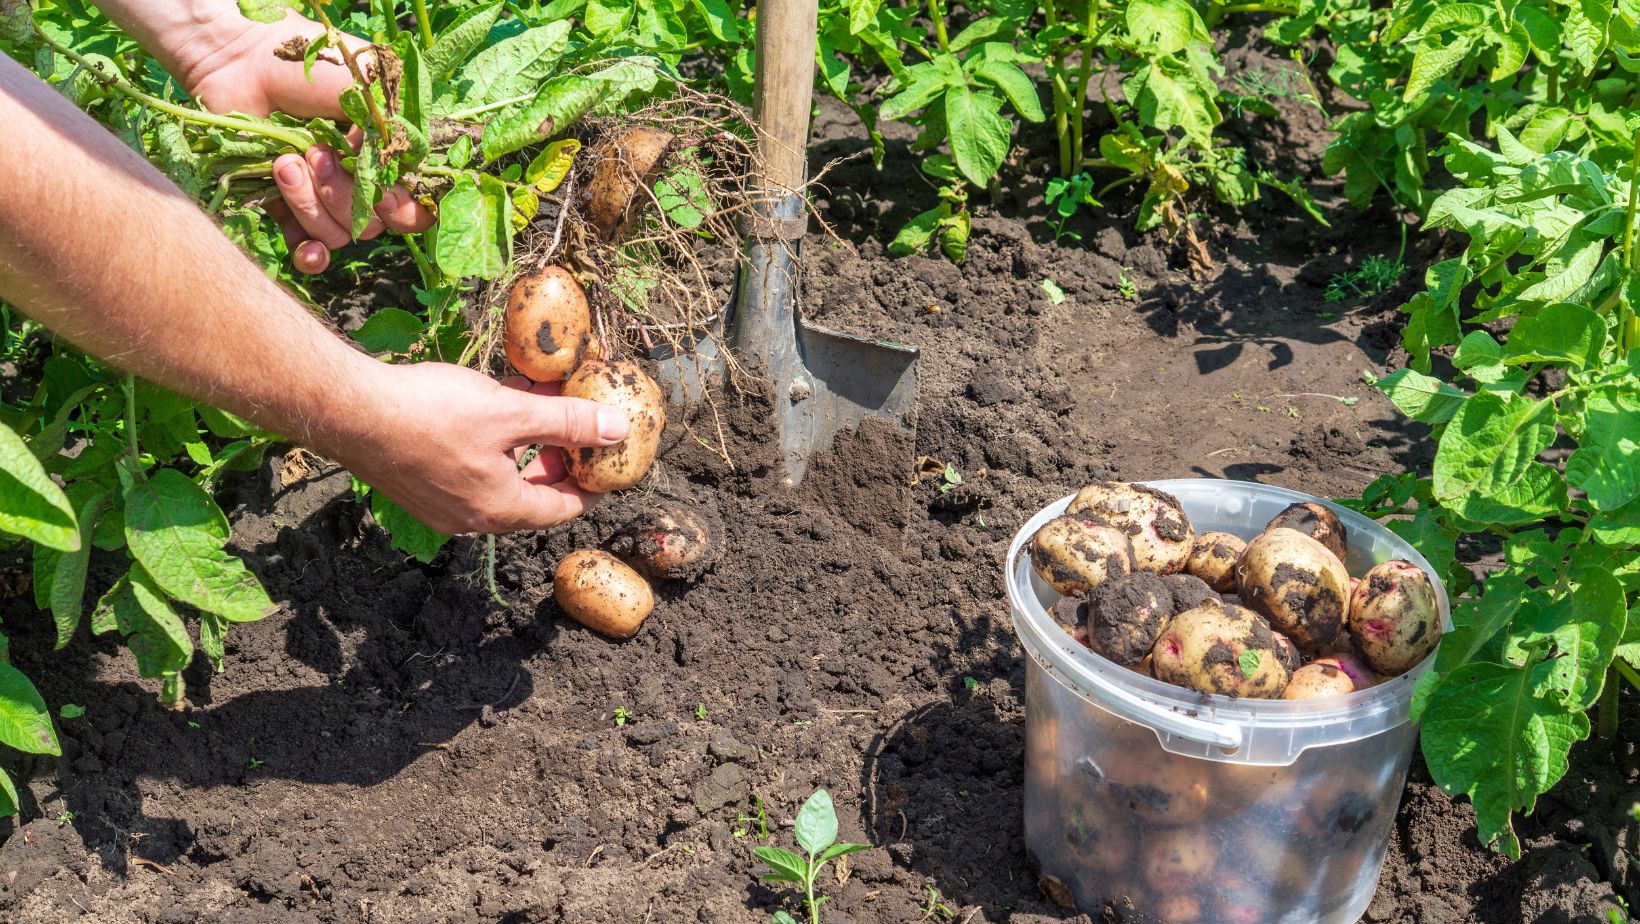
Best Plants for Bucket Gardens
Based on my experience with bucket gardening, certain plants thrive particularly well in 5-gallon containers due to their root structure and growth habits. I’ve successfully grown numerous varieties that produce abundant yields in limited spaces.
Vegetables That Thrive in Buckets
Compact vegetables adapt exceptionally well to bucket cultivation:
- Plant tomatoes (determinate varieties) 1 per 5-gallon bucket
- Grow peppers (bell, jalapeño, banana) using 2-3 plants per container
- Cultivate bush beans with 4-5 plants per bucket
- Space lettuce plants 4 inches apart with 6-8 per container
- Plant cucumbers (bush varieties) with 2 plants per bucket
- Grow carrots in clusters of 8-10 per container
- Position eggplants singularly in each 5-gallon bucket
- Arrange Swiss chard with 3-4 plants per container
Herbs and Flowers for Container Growing
Herbs and flowers create productive companion plantings in bucket gardens:
- Maintain basil clusters with 4-5 plants per bucket
- Group mint varieties in dedicated containers to prevent spreading
- Plant oregano patches with 3 plants per bucket
- Grow rosemary as single specimens in 5-gallon containers
- Arrange marigolds along bucket edges with 3-4 plants each
- Position nasturtiums with 2-3 plants per container
- Plant chives in groups of 6-8 per bucket
- Cultivate thyme patches using 4 plants per container
| Plant Type | Plants per 5-Gallon Bucket | Spacing Between Plants |
|---|---|---|
| Tomatoes | 1 | Center placement |
| Peppers | 2-3 | 8 inches |
| Lettuce | 6-8 | 4 inches |
| Herbs | 4-5 | 6 inches |
| Marigolds | 3-4 | 6 inches |
Common Problems and Solutions
In my experience with bucket gardening, several challenges can arise, but most have straightforward solutions. Here’s how I address the most frequent issues in my container garden.
Watering and Drainage Issues
Overwatering creates waterlogged soil that drowns plant roots, while underwatering leads to wilted plants. I monitor soil moisture by inserting my finger 2 inches deep – if it’s dry at that depth, it’s time to water. A well-draining soil mix prevents water accumulation, while self-watering systems maintain consistent moisture levels. Common drainage problems include:
- Clogged drainage holes from soil buildup or debris
- Poor soil composition causing water retention
- Insufficient drainage holes (fewer than 8 per bucket)
- Missing drainage layer beneath the growing medium
- Buckets placed on flat surfaces without air circulation
Plant Health Challenges
Plant health issues often stem from environmental factors or nutrient deficiencies. I’ve identified these frequent problems:
- Yellowing leaves indicate nitrogen deficiency
- Brown leaf edges signal potassium deficiency
- Stunted growth results from phosphorus deficiency
- Leaf spots appear from fungal infections
- Wilting occurs from root rot or bacterial wilt
- Apply balanced liquid fertilizer every 14 days
- Remove affected leaves immediately upon spotting disease
- Space plants properly (4-6 inches between leafy greens)
- Position buckets for 6-8 hours of direct sunlight
- Maintain air circulation between containers
| Nutrient Deficiency | Visual Indicators | Solution |
|---|---|---|
| Nitrogen | Yellow leaves | Apply 5-5-5 fertilizer |
| Potassium | Brown edges | Add 3-15-3 fertilizer |
| Phosphorus | Purple stems | Use 3-15-3 fertilizer |
| Calcium | Blossom end rot | Add crushed eggshells |
Maintaining Your Bucket Garden
I maintain my bucket garden through consistent care routines focused on plant nutrition timing water management. Here’s my proven maintenance approach based on years of bucket gardening experience.
Fertilizing Schedule
I apply liquid fertilizer every 14 days during the growing season, using a balanced 10-10-10 NPK ratio. Here’s my fertilizing system:
- Mix 2 tablespoons of water-soluble fertilizer per gallon of water for feeding
- Apply compost tea monthly to boost beneficial microorganisms
- Side-dress heavy feeders like tomatoes eggplants with slow-release granules every 6 weeks
- Reduce fertilizer by 50% during flowering periods for fruit-bearing plants
- Add 1 tablespoon of Epsom salt per plant monthly to prevent magnesium deficiency
Seasonal Care Tips
I adjust my bucket garden maintenance based on seasonal needs:
Spring:
- Clean buckets remove dead plant material
- Test soil pH levels adjust if needed
- Start seedlings indoors 6 weeks before last frost
- Add fresh compost to top 2 inches of soil
Summer:
- Water deeply early morning or evening
- Monitor for pest infestations daily
- Prune excess foliage for air circulation
- Place shade cloth over heat-sensitive plants
Fall:
- Harvest remaining crops before first frost
- Clean remove spent plants
- Store empty buckets upside down
- Add cold-hardy plants for extended growing
- Move containers to protected areas
- Insulate bucket sides with bubble wrap
- Cover soil with mulch to prevent freezing
- Monitor overwintering plants weekly
Planting Regardless of Space Constraints
Starting a bucket garden has transformed my gardening experience and I’m confident it can do the same for you. It’s an accessible sustainable and rewarding way to grow your own food regardless of space constraints.
From my years of bucket gardening I’ve learned that success comes down to proper preparation consistent maintenance and choosing the right plants. With the right setup and care you’ll be amazed at how much you can grow in these humble containers.
I encourage you to take that first step into bucket gardening. Whether you’re working with a tiny balcony or a small patio there’s always room for a productive garden. Get your buckets ready and start growing!